Figma hover states: build them so they show in a video
A hover state is part of the design, and in a screenshot it does not exist. If your buttons and cards are built as components with variants, a case video can show the exact state you drew.
Free on Figma Community · 3 free exports every week · no watermark
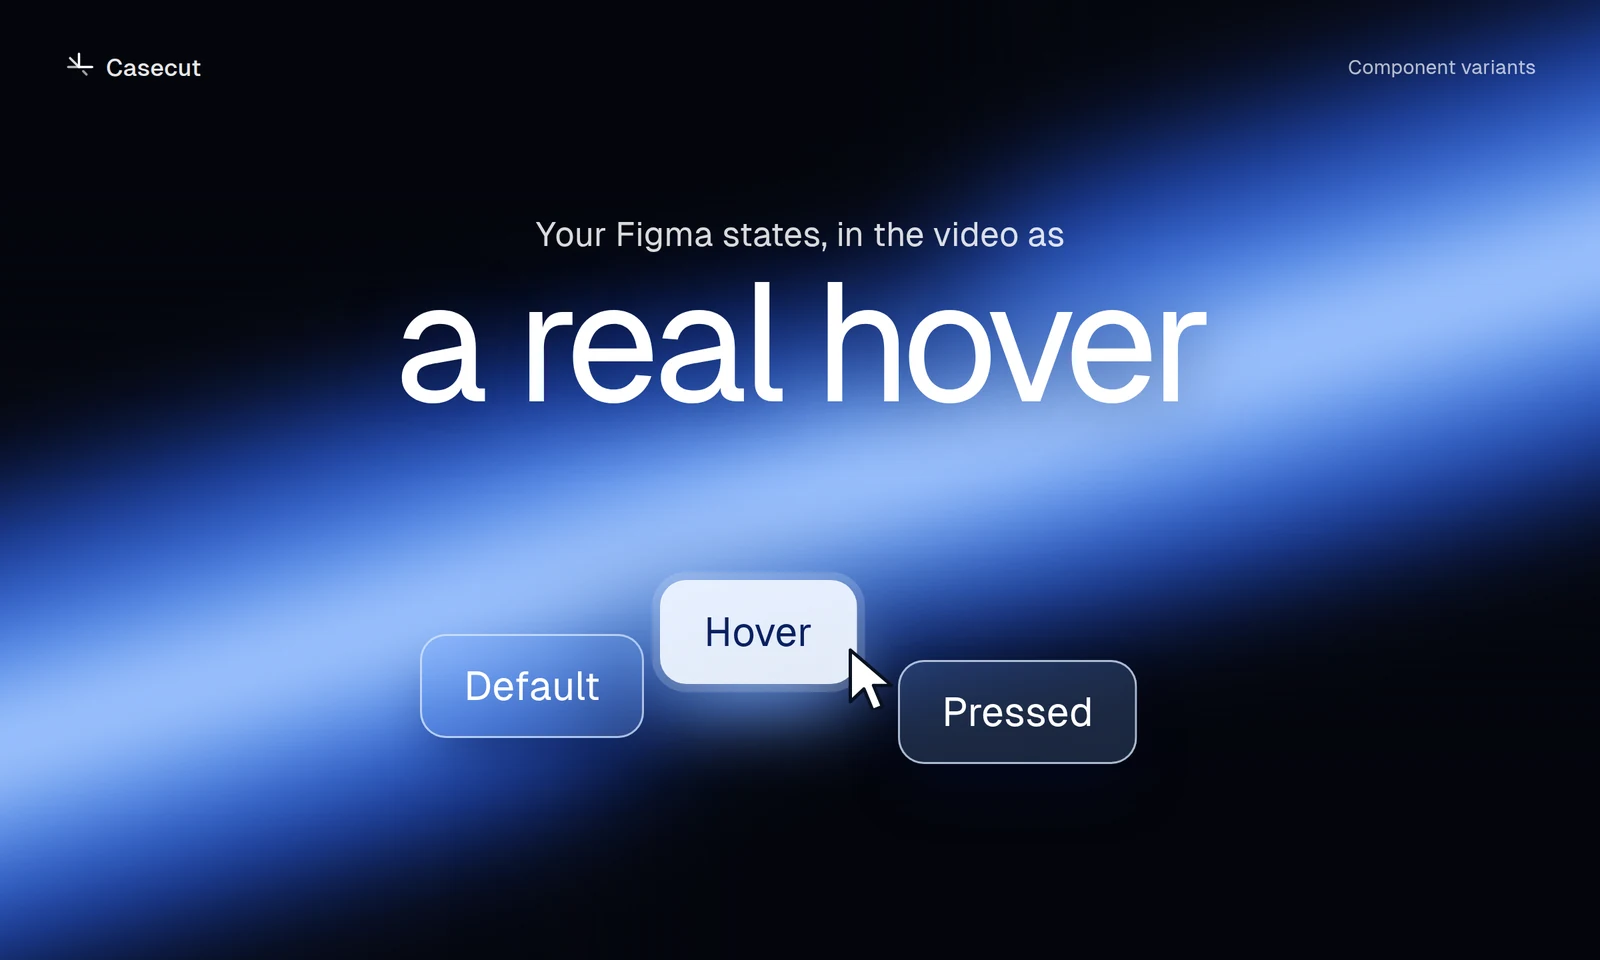
Build the state as a variant
- Make the button a component. Select it and create a component.
- Add a variant. Name the property State and the values Default and Hover.
- Design the hover. Change the fill, the outline, the arrow, whatever your hover does.
- Use instances on the page. Every button on the page is an instance of that component, in its Default state.
If you also link the variants in the prototype, with a While hovering interaction that changes to the Hover variant, the intent is stated twice and nothing is left to guess.
Keep both states the same size
A hover that changes colour, outline or an icon swaps cleanly. A hover that makes the component bigger pushes its neighbours in auto layout, and the page around it shifts. If the hover needs to grow, give the component a fixed frame with room inside it, so its outer size stays the same in both states.
Cards work the same way
A product card that reveals a Quick buy button on hover is a component with two variants, Normal and Hover. Leave one card on the page in its Hover state if you want the static mockup to show it; the other cards will still take that look when the cursor is over them.
What happens in the video
When the Casecut plugin sends a frame, it also renders the other state of the components that have one. In the video a cursor moves to the button, the whole component changes to your hover the way you drew it, and it changes back when the cursor leaves. A button made of parts, such as a pill with an arrow circle, changes as one piece.
The same idea for tabs, accordions and sliders
- Tabs and toggles: variants named for the active state. A click switches them and they stay switched.
- Accordions: an Open and a Closed variant.
- Sliders: put all slides in one row inside a frame with clipping on. Pressing the arrow slides to the next one.
Try it on your own frame
 Animated mockupsLayers enter, the page scrolls, a cursor clicks. No keyframes.Open
 Figma to videoTurn a frame into an MP4 without recording your screen.Open
More from the blog
 October 7, 20262 min readFigma prototype to video: four waysScreen recording, After Effects, motion tools and an automatic walkthrough.Read
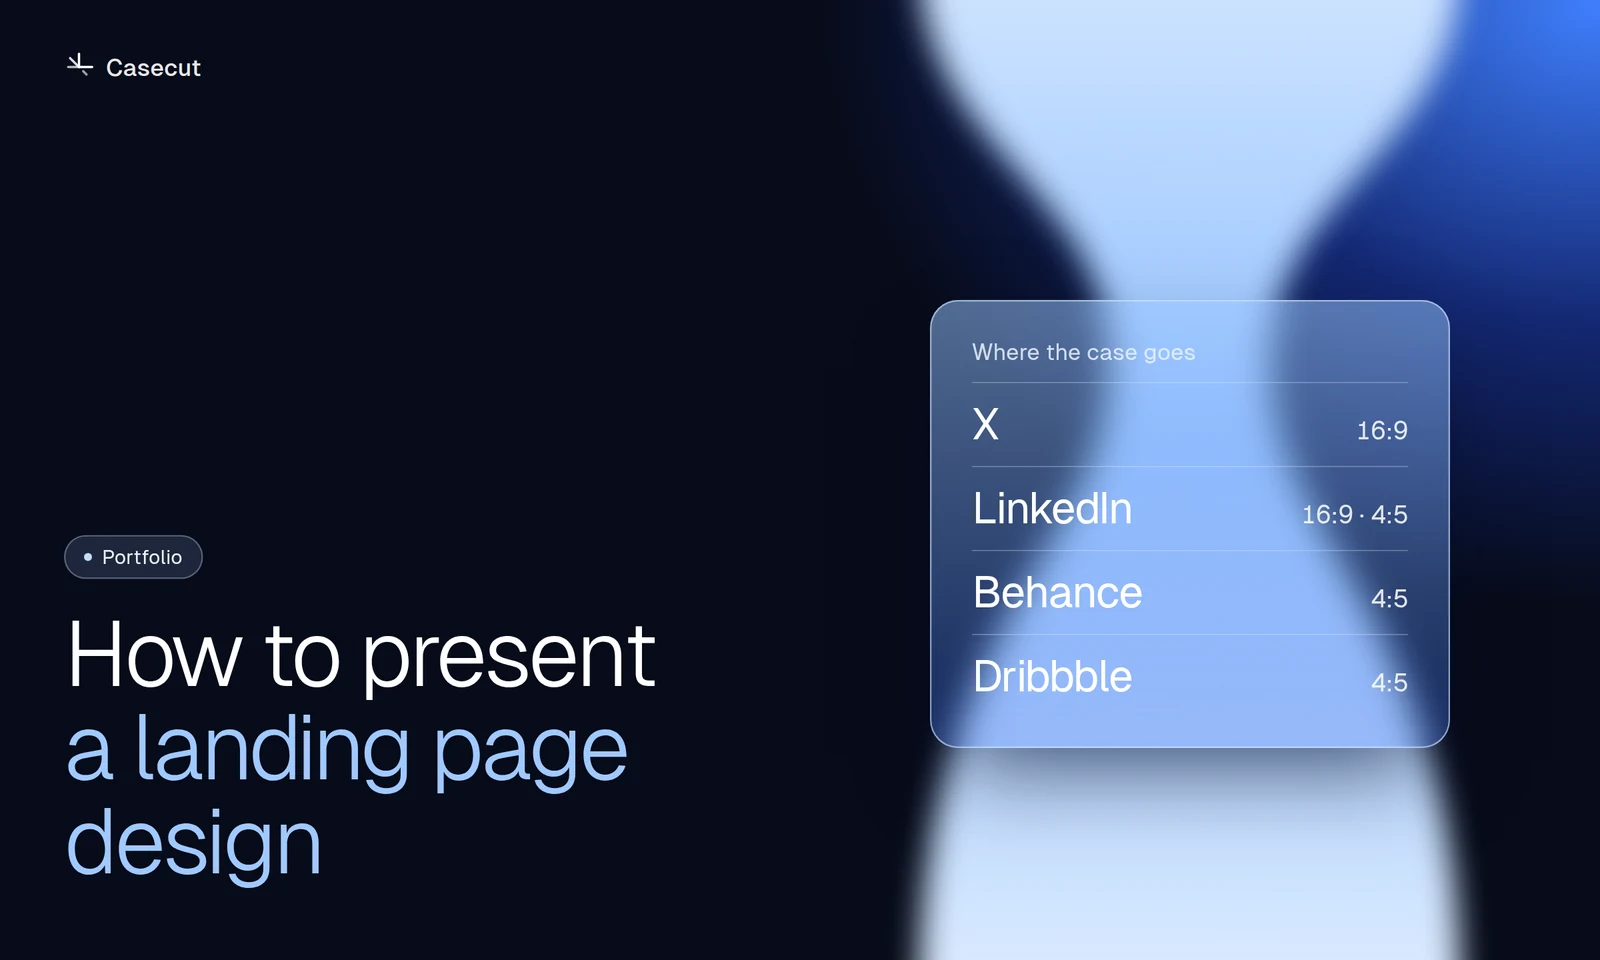 October 7, 20262 min readHow to present a landing page designA practical structure for Behance, Dribbble, X and LinkedIn.Read
 October 7, 20262 min read16:9, 4:5 or 9:16 for a case videoWhich format goes where, and why a crop is not enough.Read